

choco's story
CSS 14. 의사 클래스 (가상 클래스) 본문
의사 클래스
의사 클래스(가상 클래스) 란?
: 선택자에 추가하는 키워드로, 요소가 어떤 특정한 상태일 때 해당 요소를 선택하겠다는 의미를 만들 때 사용
의사 클래스의 코드 기본 구조입니다.
선택자: 의사 클래스{
  속성명: 속성값;
}
실제 저 구조를 적용하면 아래처럼 쓸 수 있습니다.
ex) h1 요소에 마우스 커서를 올리면 텍스트 색을 red로 변경
h1:hover{
  color: red;
}
아래 표는 의사 클래스 중 가장 많이 사용되는 것 일부를 정리한 것입니다.
| 의사 클래스 | 의미 |
|---|---|
| hover | 마우스 포인터가 요소에 올라가 있는 경우 |
| active | 사용자가 요소를 활성화한 경우 (마우스 클릭 등)   |
| focus | 요소가 포커스를 받는 경우 |
| disabled | 비활성 상태의 요소인 경우 |
| nth-child() | 형제 사이에서의 순서에 따라 요소를 선택 |
이 외에도 다양한 의사 클래스들이 있습니다.
의사 클래스 예시1
<!doctype html>
<html lang="en">
  <head>
    <meta charset="UTF-8" />
    <meta name="viewport" content="width=device-width, initial-scale=1.0" />
    <title>의사 클래스</title>
    <style>
      /* 기본 스타일 */
      [type="button"] {
        width: 100px;
        height: 30px;
        background-color: pink;
        color: white;
        border: none;
        border-radius: 8px;
      }
      /* hover = 커서를 가져다 두었을 때만 적용 (클릭X) */
      [type="button"]:hover {
        background-color: gray;
      }
      /* active = 클릭 중일 때만 적용 */
      [type="button"]:active {
        background-color: red;
      }
    </style>
  </head>
  <body>
    <input type="button" value="버튼" />
  </body>
</html>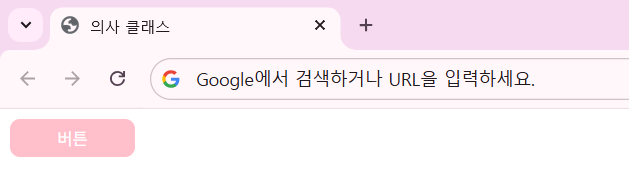
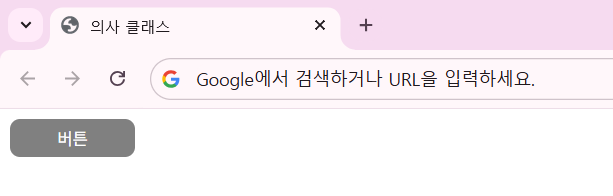
기본 색상은 pink이지만, 마우스 커서를 갖다 댄 hover 상태인 경우엔 버튼 색상을 gray로 바꿉니다.
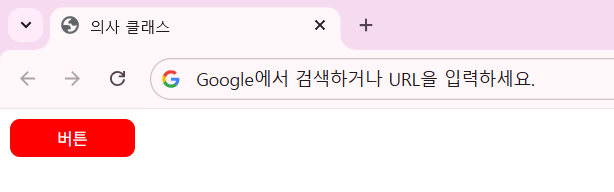
그리고 마우스 클릭인 active인 경우에는 red로 색상을 바꿉니다.
의사 클래스 예시2
<!doctype html>
<html lang="en">
  <head>
    <meta charset="UTF-8" />
    <meta name="viewport" content="width=device-width, initial-scale=1.0" />
    <title>의사 클래스</title>
    <style>
      input:focus {
        color: red;
        background-color: pink;
      }
    </style>
  </head>
  <body>
    <input type="text" placeholder="input 스타일 테스트" />
  </body>
</html>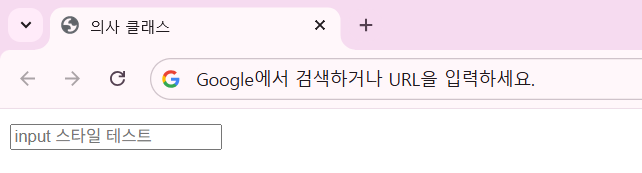
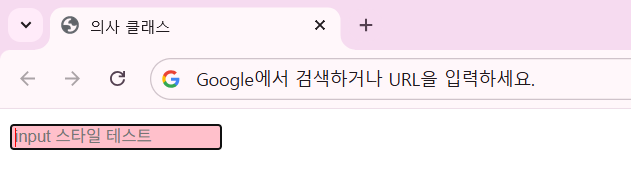
input 창을 커서로 클릭하여 focus 상태로 만든다면, 배경색은 pink가 되고 내부 깜빡이는 타이핑 바 색은 red가 됩니다.
두 번째 이미지를 보시면 확인하실 수 있습니다.
여기에 disabled 속성을 추가해보겠습니다.
disabled는 해당 기능을 '사용 불가'로 변경하는 속성입니다.
<!doctype html>
<html lang="en">
  <head>
    <meta charset="UTF-8" />
    <meta name="viewport" content="width=device-width, initial-scale=1.0" />
    <title>의사 클래스</title>
    <style>
      input:focus {
        color: red;
        background-color: pink;
      }
      input:disabled {
        height: 100px;
      }
    </style>
  </head>
  <body>
    <input type="text" placeholder="input 스타일 테스트" disabled />
  </body>
</html>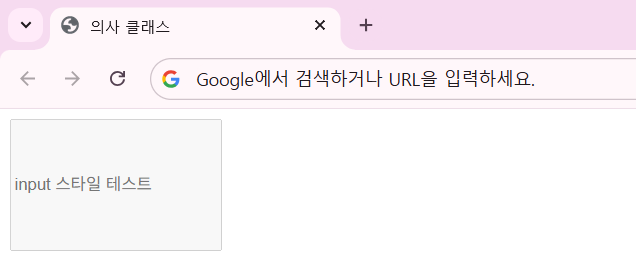
input창에 disabled 속성을 추가한 후,
이 input이 disabled된 경우에 높이를 100px로 바뀌도록 관련 의사 클래스를 추가했습니다.
의사 클래스 예시3
<!doctype html>
<html lang="en">
  <head>
    <meta charset="UTF-8" />
    <meta name="viewport" content="width=device-width, initial-scale=1.0" />
    <title>의사 클래스</title>
    <style>
      body {
        display: flex;
        justify-content: space-around;
      }
      .box {
        width: 50px;
        height: 50px;
        background-color: blue;
        color: aliceblue;
      }
      .box:nth-child(3) {
        background-color: burlywood;
      }
    </style>
  </head>
  <body>
    <div class="box">1번</div>
    <div class="box">2번</div>
    <div class="box">3번</div>
    <div class="box">4번</div>
    <div class="box">5번</div>
  </body>
</html>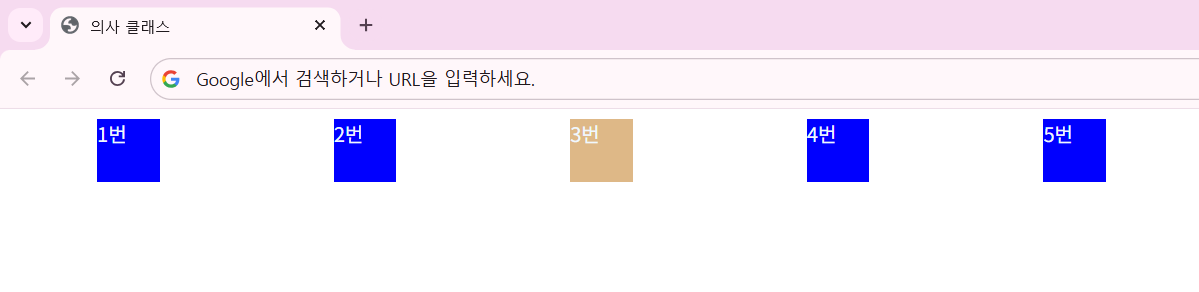
각 div 박스마다 blue 색상을 지정하였는데, box:nth-child(3){ ... } 의사 클래스로 3번째 div 박스만 burlywood 색상이 되도록 지정하였습니다.
.box:nth-child(2n) {
  background-color: burlywood;
}
여기서 3을 2n으로 바꾸면, 2 * 1 = 2, 2 * 2 = 4, ...즉 짝수 번째 요소들만 해당 의사 클래스의 영향을 받게 됩니다.
홀수 번째 요소들을 변경하려면 2n - 1로 값을 넣으면 됩니다.
.box:nth-child(n) {
  background-color: burlywood;
}
그냥 n을 넣는다면 해당하는 모든 요소의 순서에 대한 숫자를 대입합니다.
즉 해당하는 모든 요소에 의사 클래스를 적용합니다.
'HTML & CSS > CSS' 카테고리의 다른 글
| CSS 16. inherit, initial, unset (0) | 2026.05.27 |
|---|---|
| CSS 15. 의사 요소 (0) | 2026.05.26 |
| CSS 13. 선택자 - 특성 선택자, 결합 선택자 (0) | 2026.05.21 |
| CSS 12. flexbox 2 (0) | 2026.05.20 |
| CSS 11. flexbox 1 (0) | 2026.05.20 |